Setting Up a Webex Meeting
-
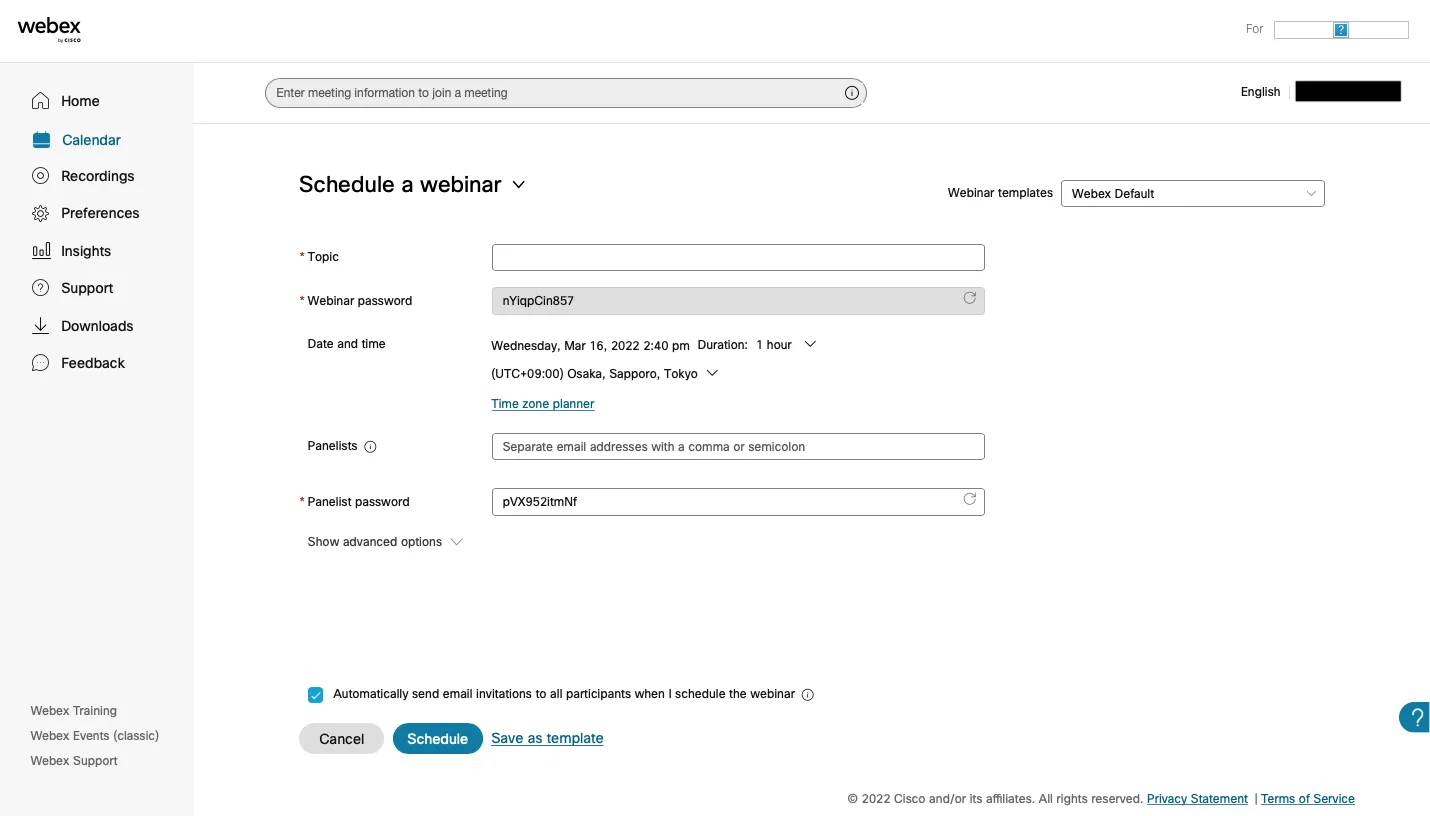
To schedule a meeting, select “Schedule Meeting” on the home page and configure the various settings.
-
The “Schedule Meeting” page allows you to configure settings such as the topic, password, date, and attendees. The details for each item are as follows.
-
Meeting type: Select the type of meeting you want to schedule.
- Webex Meetings (1. Standard Meeting)**: This option should be selected for standard lectures and meetings. You can create cloud recordings, connect to teleconference systems (such as Polycom), and make use of functions such as breakout sessions and lobbies.
- Webex Meetings (2. End-to-End Encrypted Meeting): This option should be selected if End-to-End Encryption is required. Certain functions such as cloud recordings and connection to teleconference systems are disabled. Please refer to “End-to-End Encryption for Webex Meeting” and “Recommended Practices for Holding Secure Meetings on Webex.”
-
Topic: Enter the topic of the meeting. This field is required.
-
Meeting password: An arbitrary string will be displayed by default, which can be changed.
-
Date and Time: The time when the screen was most recently opened will be displayed. You can change the time by pressing the symbol on the right-hand corner. You can also repeat meetings. Checking the box marked “Recurrence” will take you to a page where you can set the rules for repeating a meeting.
-
Attendees: Enter the e-mail addresses of the attendees. Once you complete this setting, the meeting URL and other information will be automatically sent to the registered attendees.
-
Show Advanced Scheduling Options: This allows you to change the audio connection options, add an agenda, and set scheduling options. For example, you can configure the settings to automatically start recording or allow attendees to join before the host. You can also register attendees, set reminder emails, and so on.
-
-
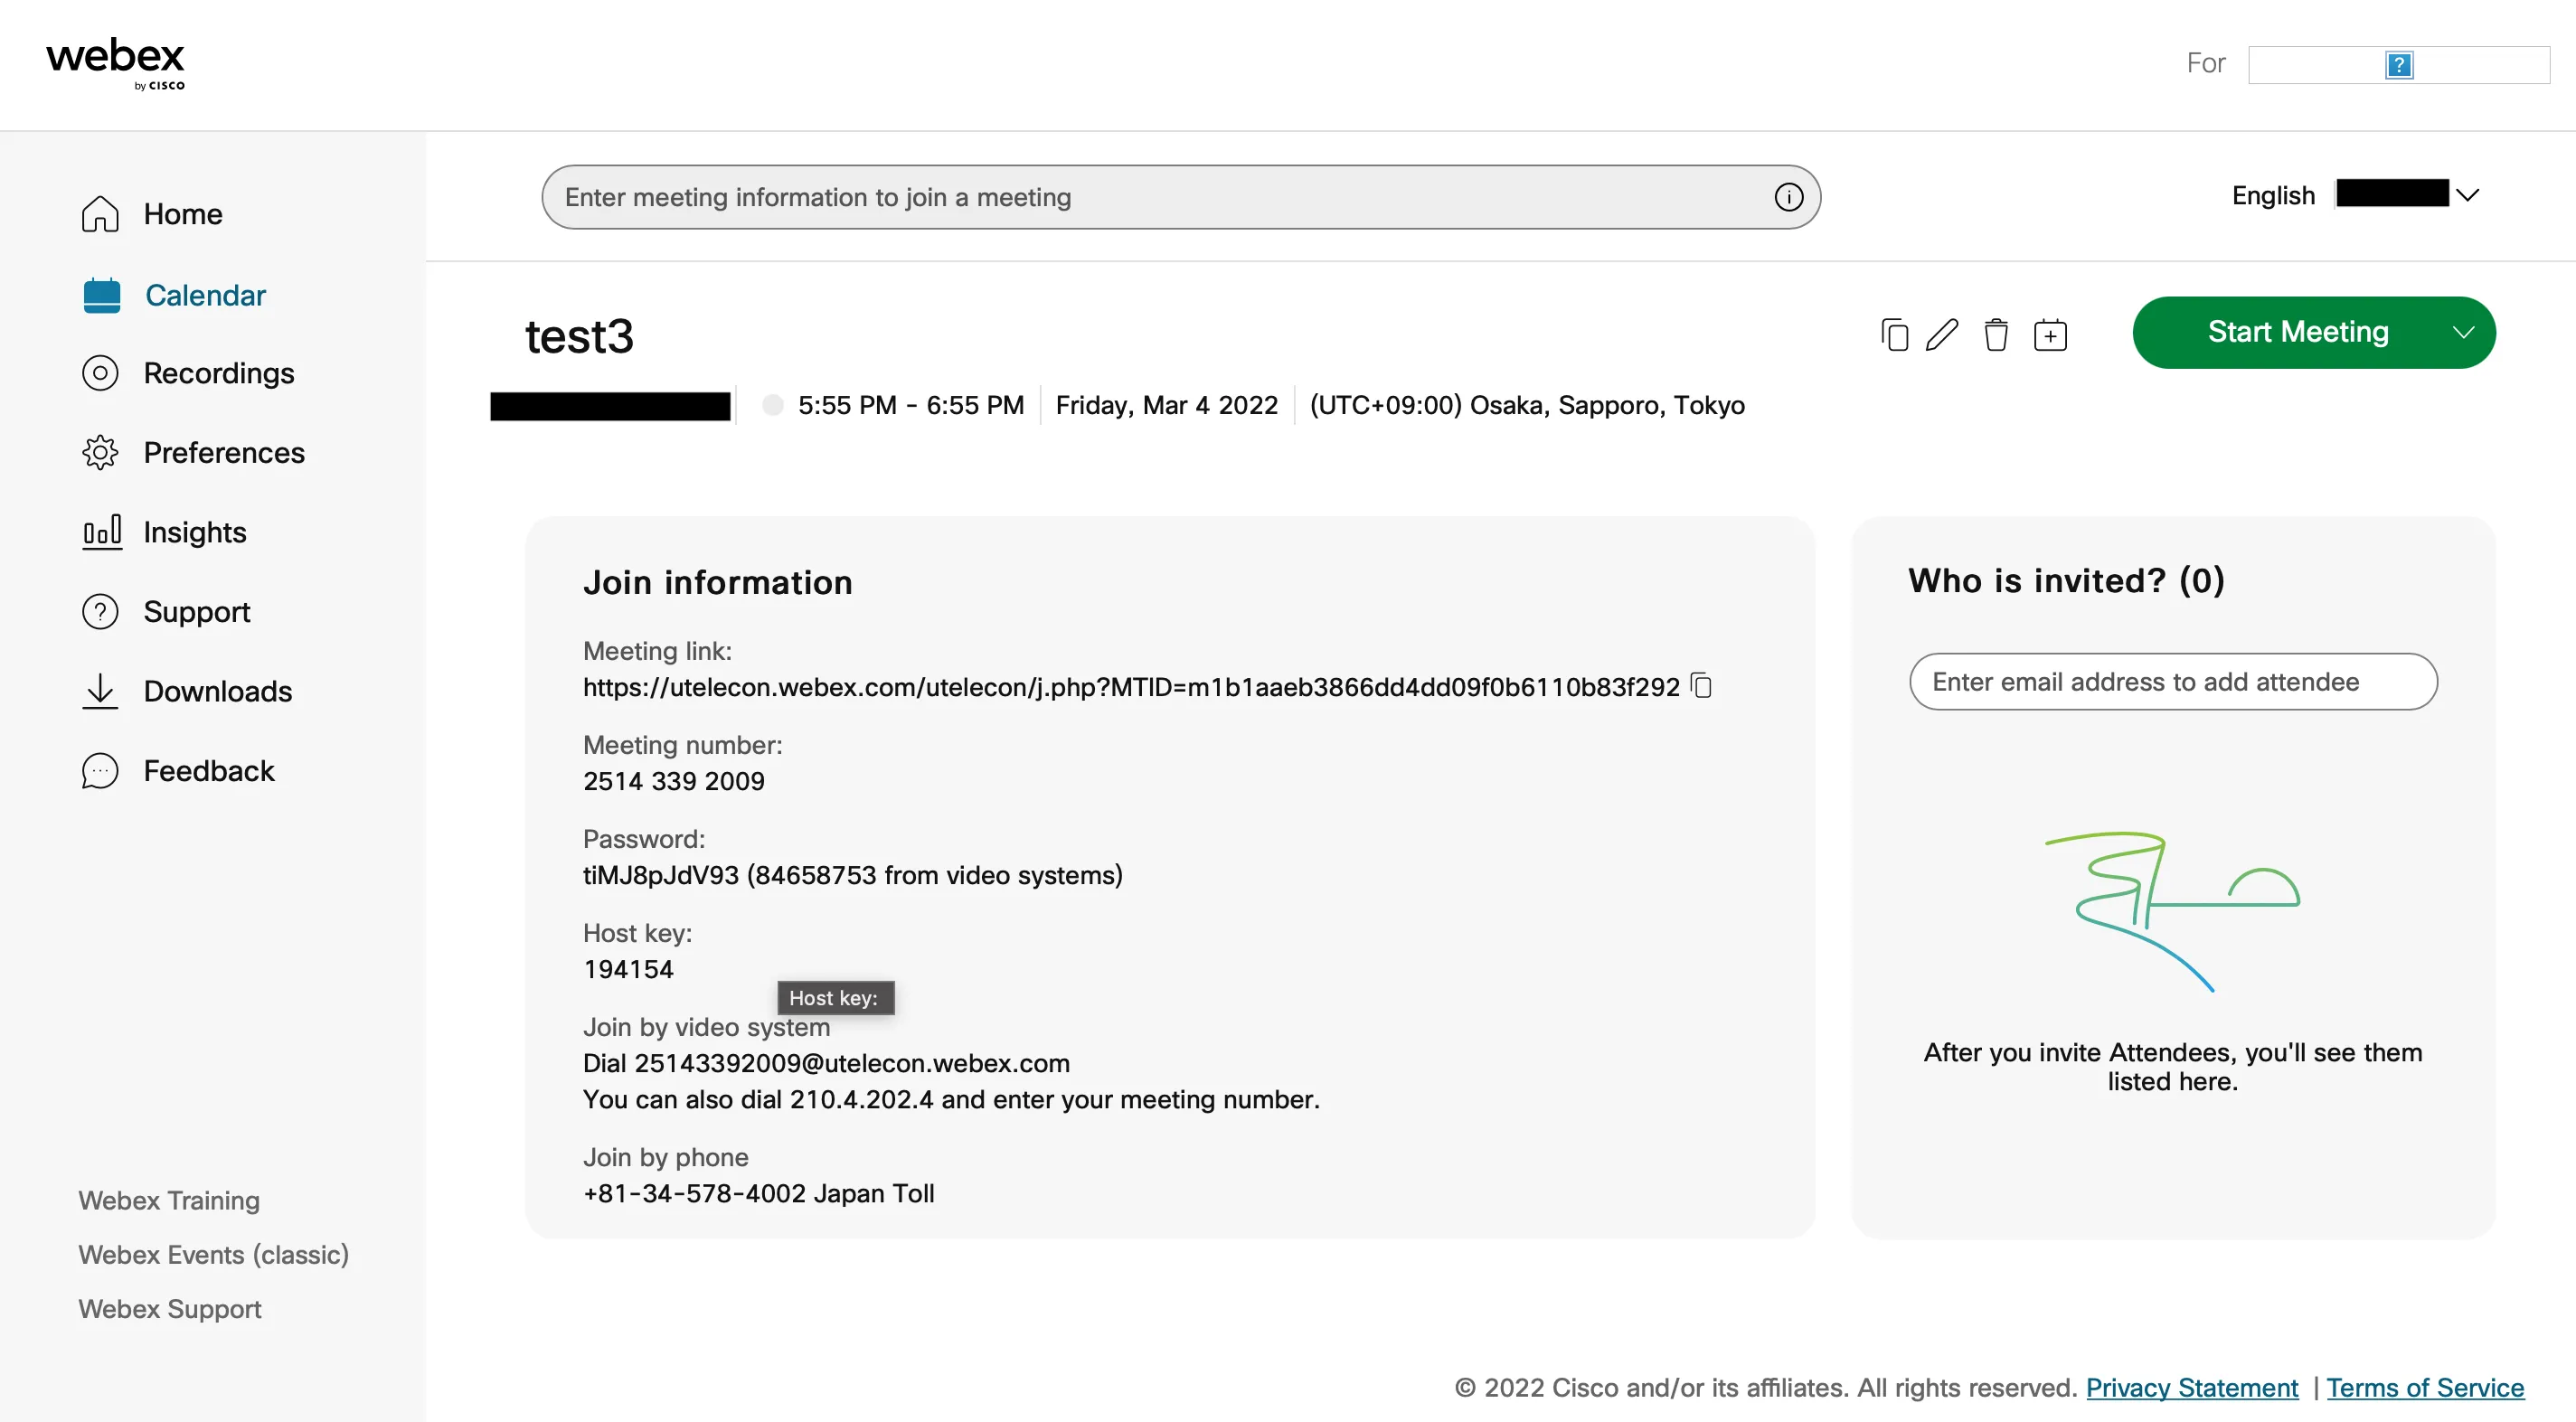
Once all of the settings are completed, click the “Schedule” button to generate the Meeting ID.
-
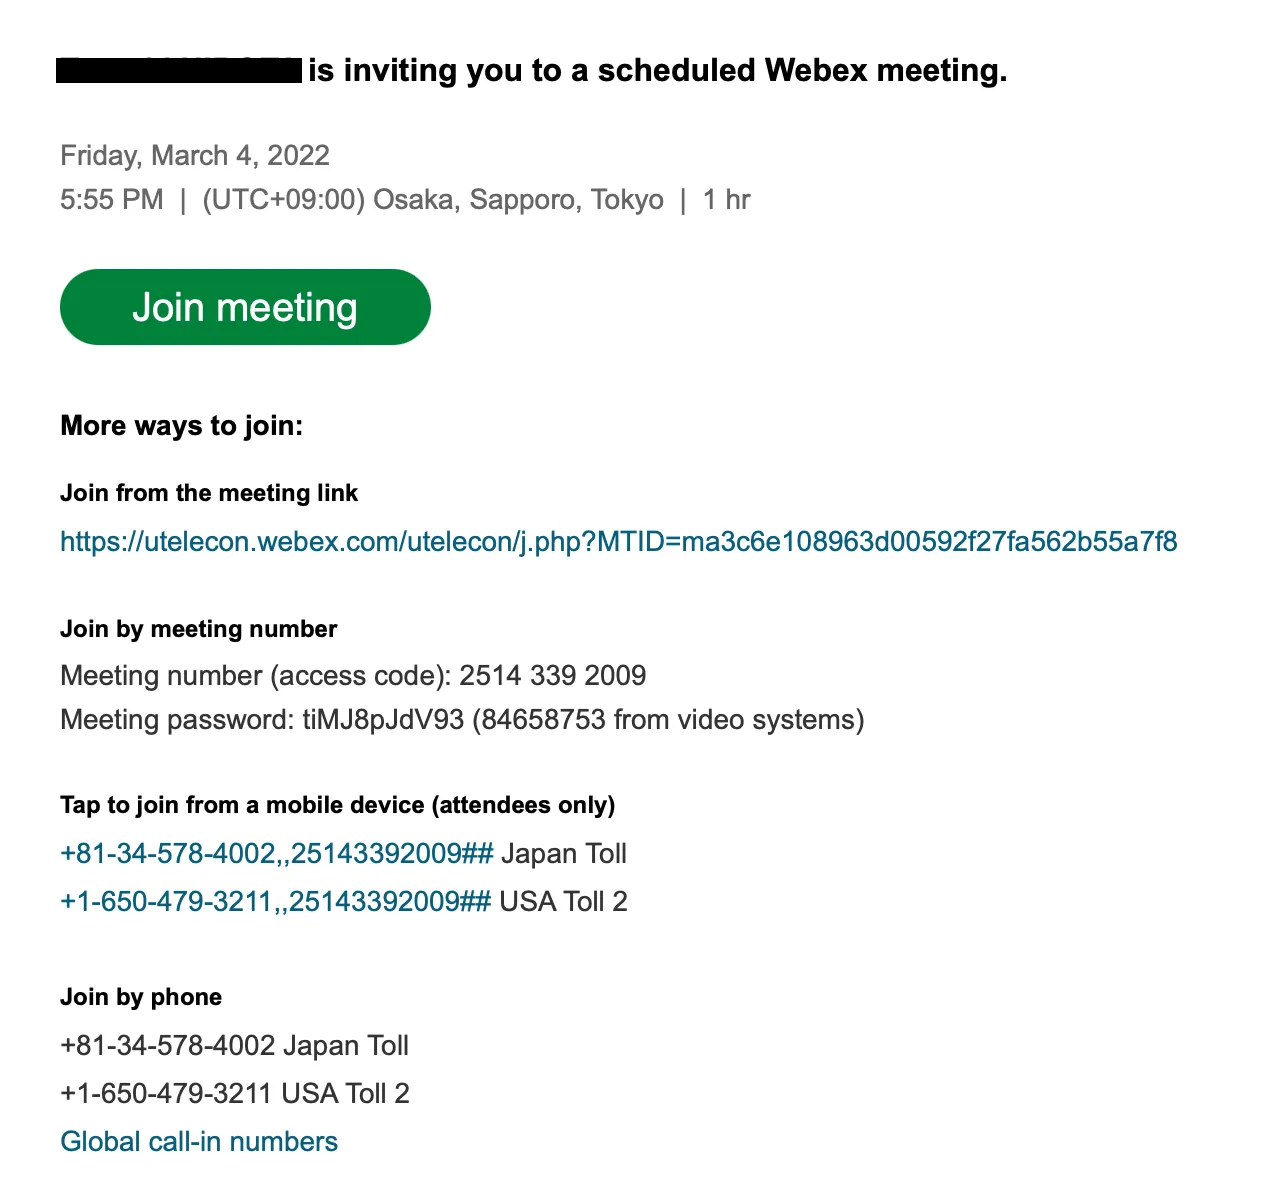
An invitation email will be sent to the e-mail addresses of the registered attendees.
-
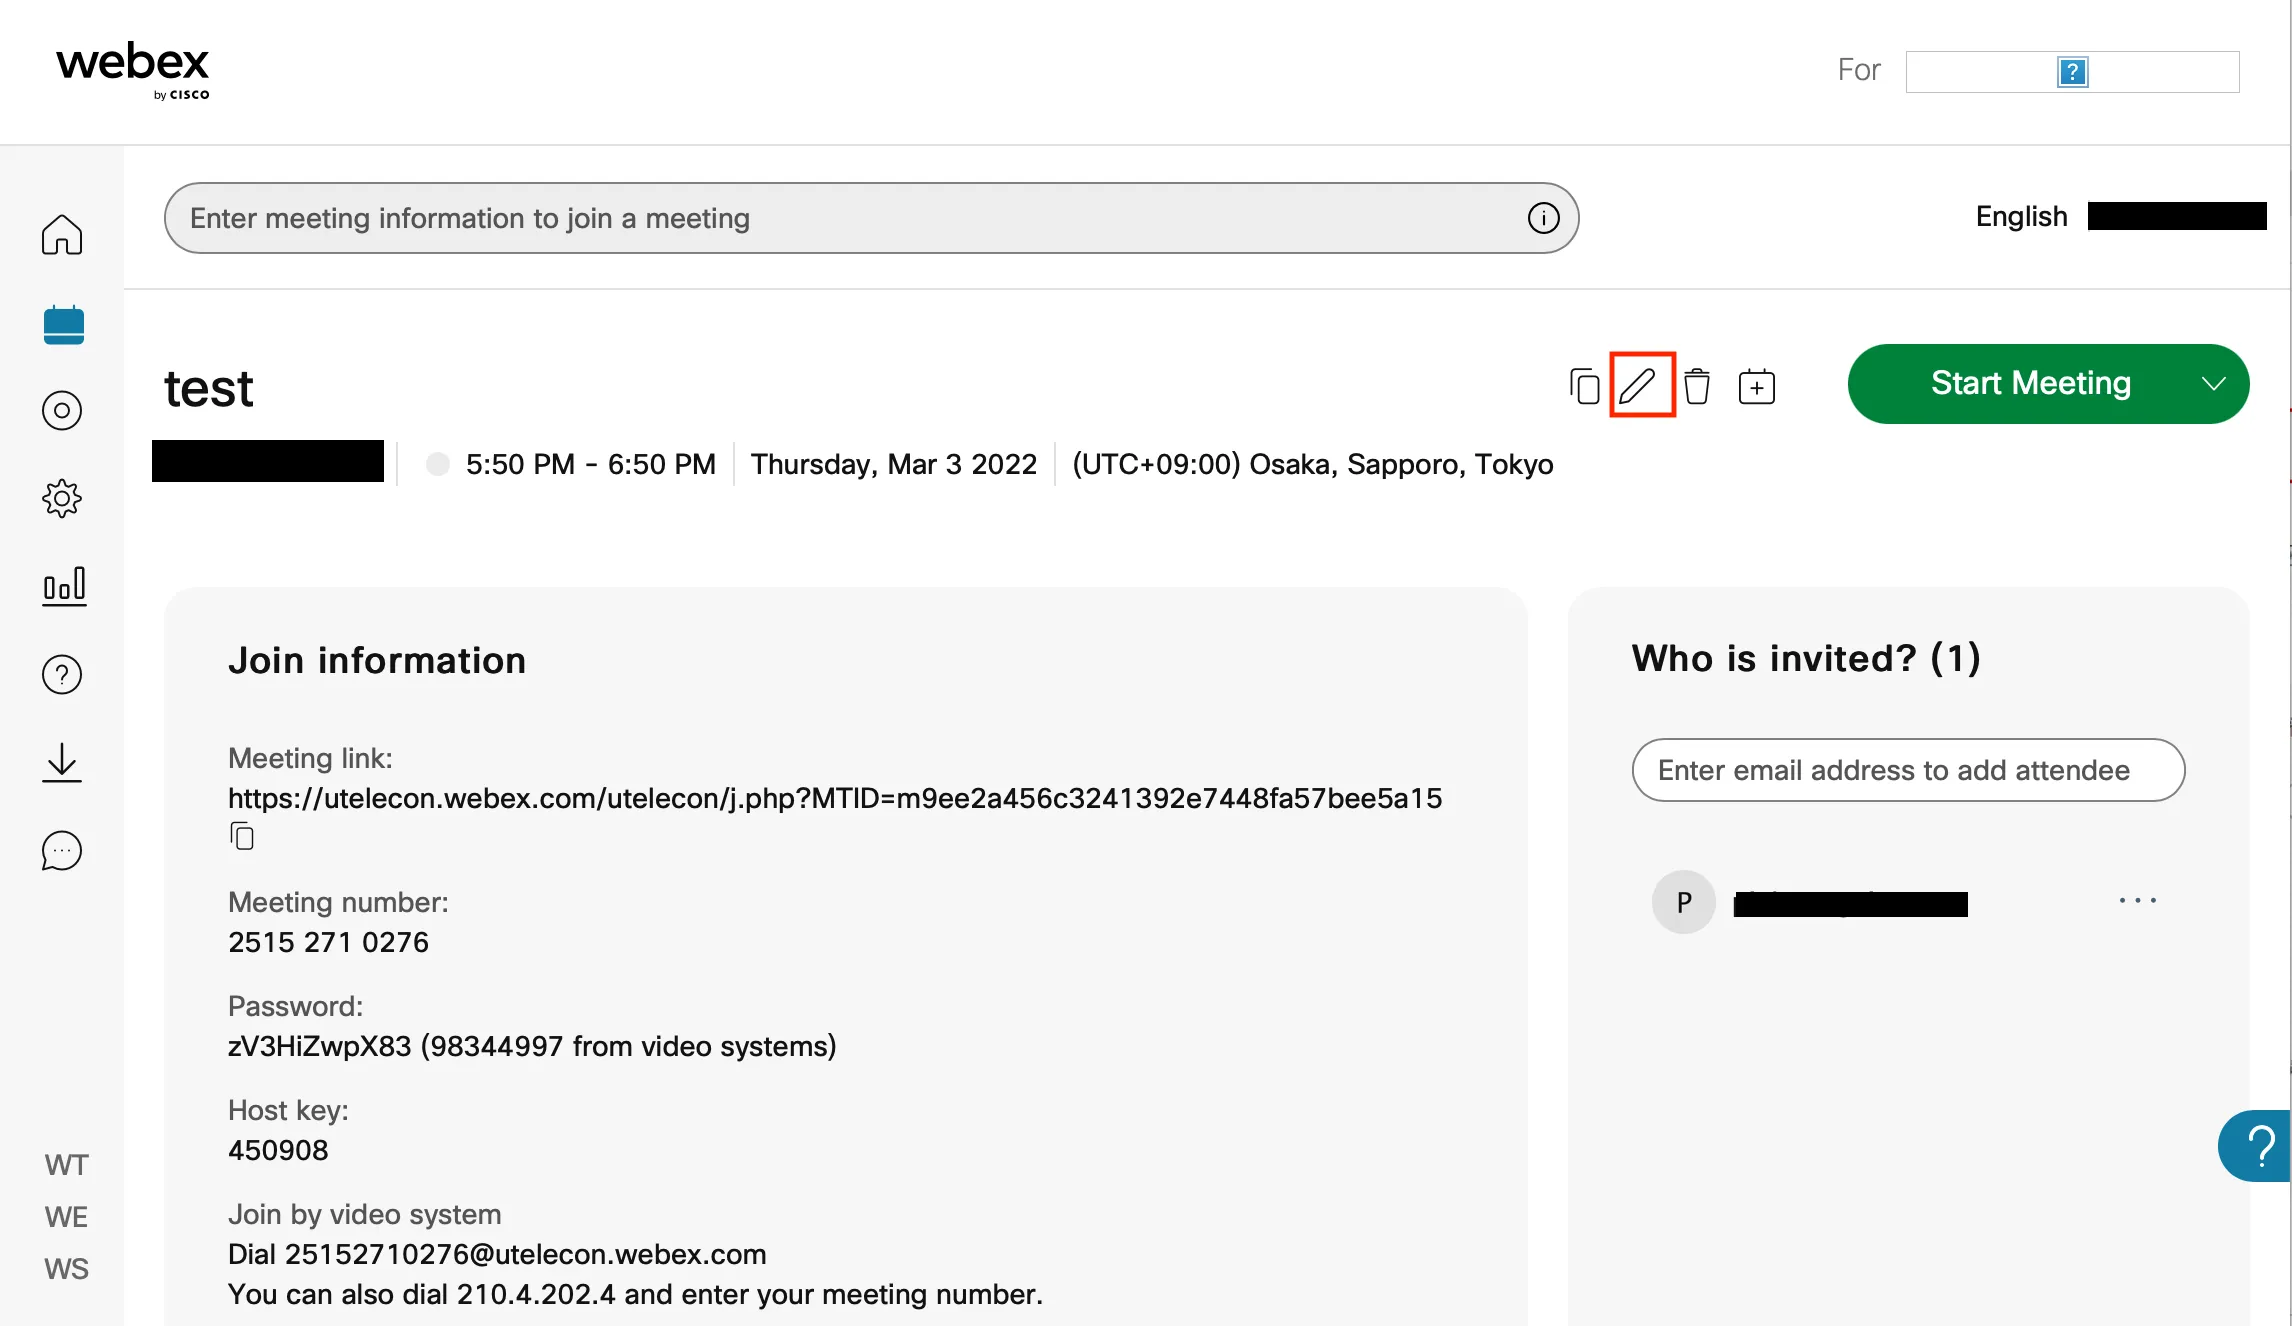
You can also notify attendees who have not been registered by sending them an email with the necessary information, including the Meeting Link, Meeting ID, and password shown. The host key number should only be known by the host, and thus should not be shared with general attendees.
-
-
If the date and time entered is too close (within ten minutes or less), the “Start” button will be displayed instead of the “Schedule” button, and the meeting can be started immediately.
- Pressing “Start” will take you to waiting mode. This screen is a preview, so make sure to adjust your camera and microphone settings at this stage.
- Down below, you can adjust your audio, microphone, and camera settings. You can switch your settings depending on what kind of equipment you are using for your audio and microphone (for example, if you are using a headset).
- If nothing shows up on the preview screen, it is possible that your camera is not detected, so check the camera settings located at the bottom.
- Make sure that your microphone can be clearly heard. If the indicator under the microphone icon responds when you make a sound, that means that the microphone is picking up sound.
- Clicking the microphone button and video button on the screen allows you to mute or unmute attendees and stop or start the video, respectively.
- You can immediately start the meeting by pressing “Start Meeting” at this time.
-
In addition, attendees registered on the “Schedule Meeting” page will automatically be sent an email such as the following.
Editing a Webex Meeting
To edit the contents of a meeting you have scheduled, select the meeting in question from the home page and click the “Edit” icon.
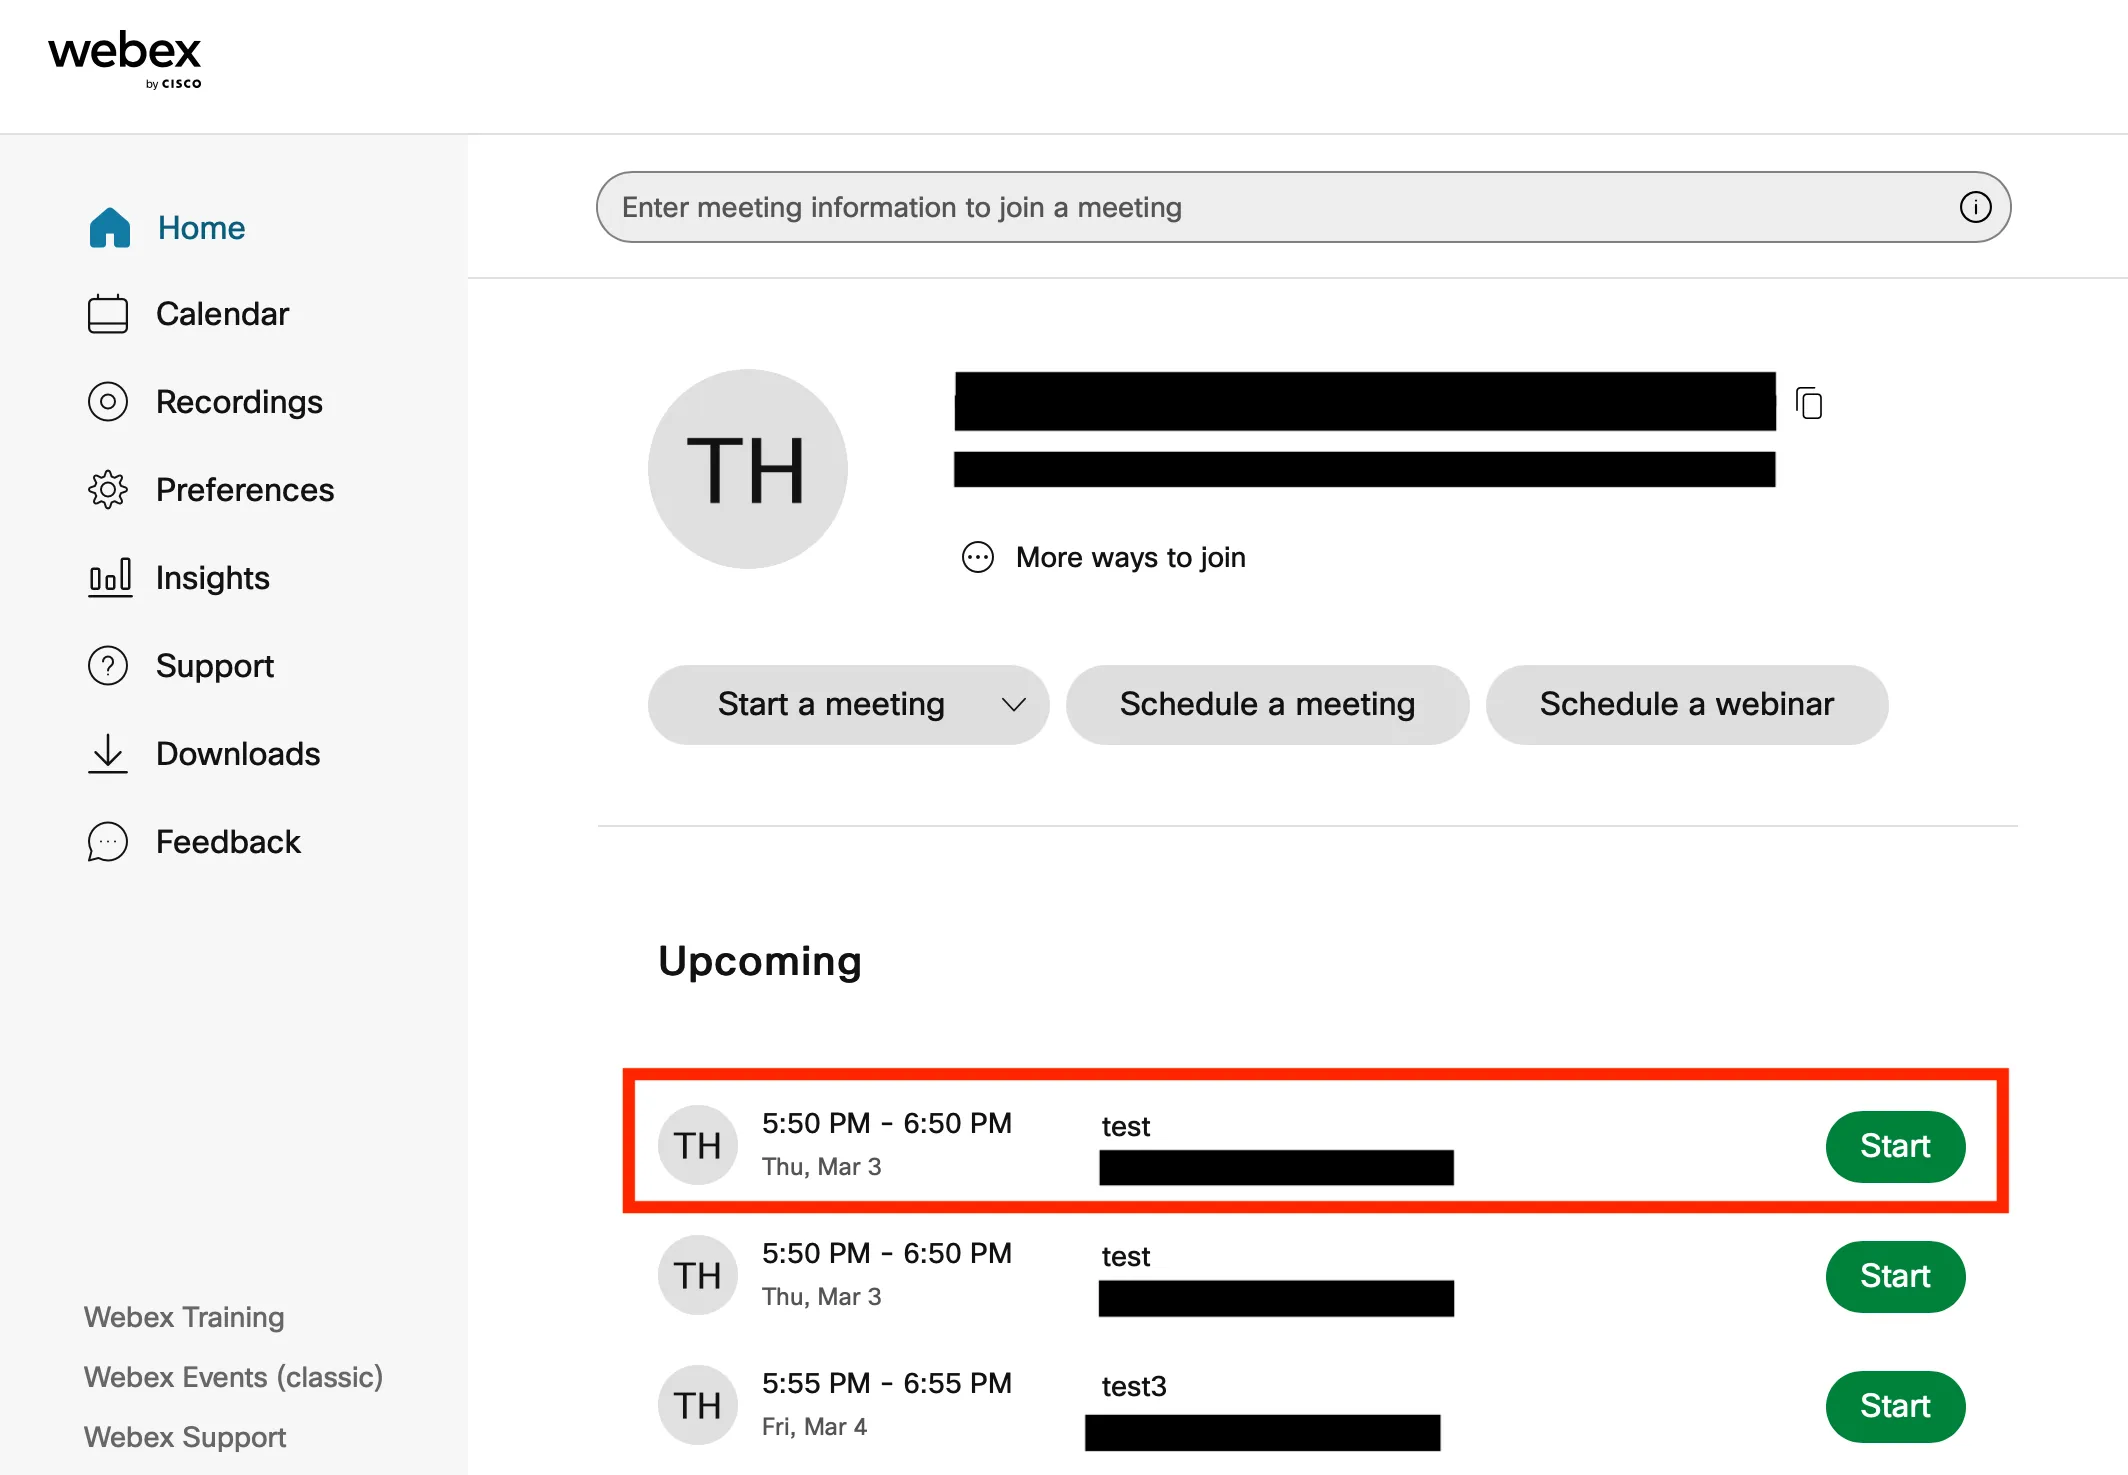
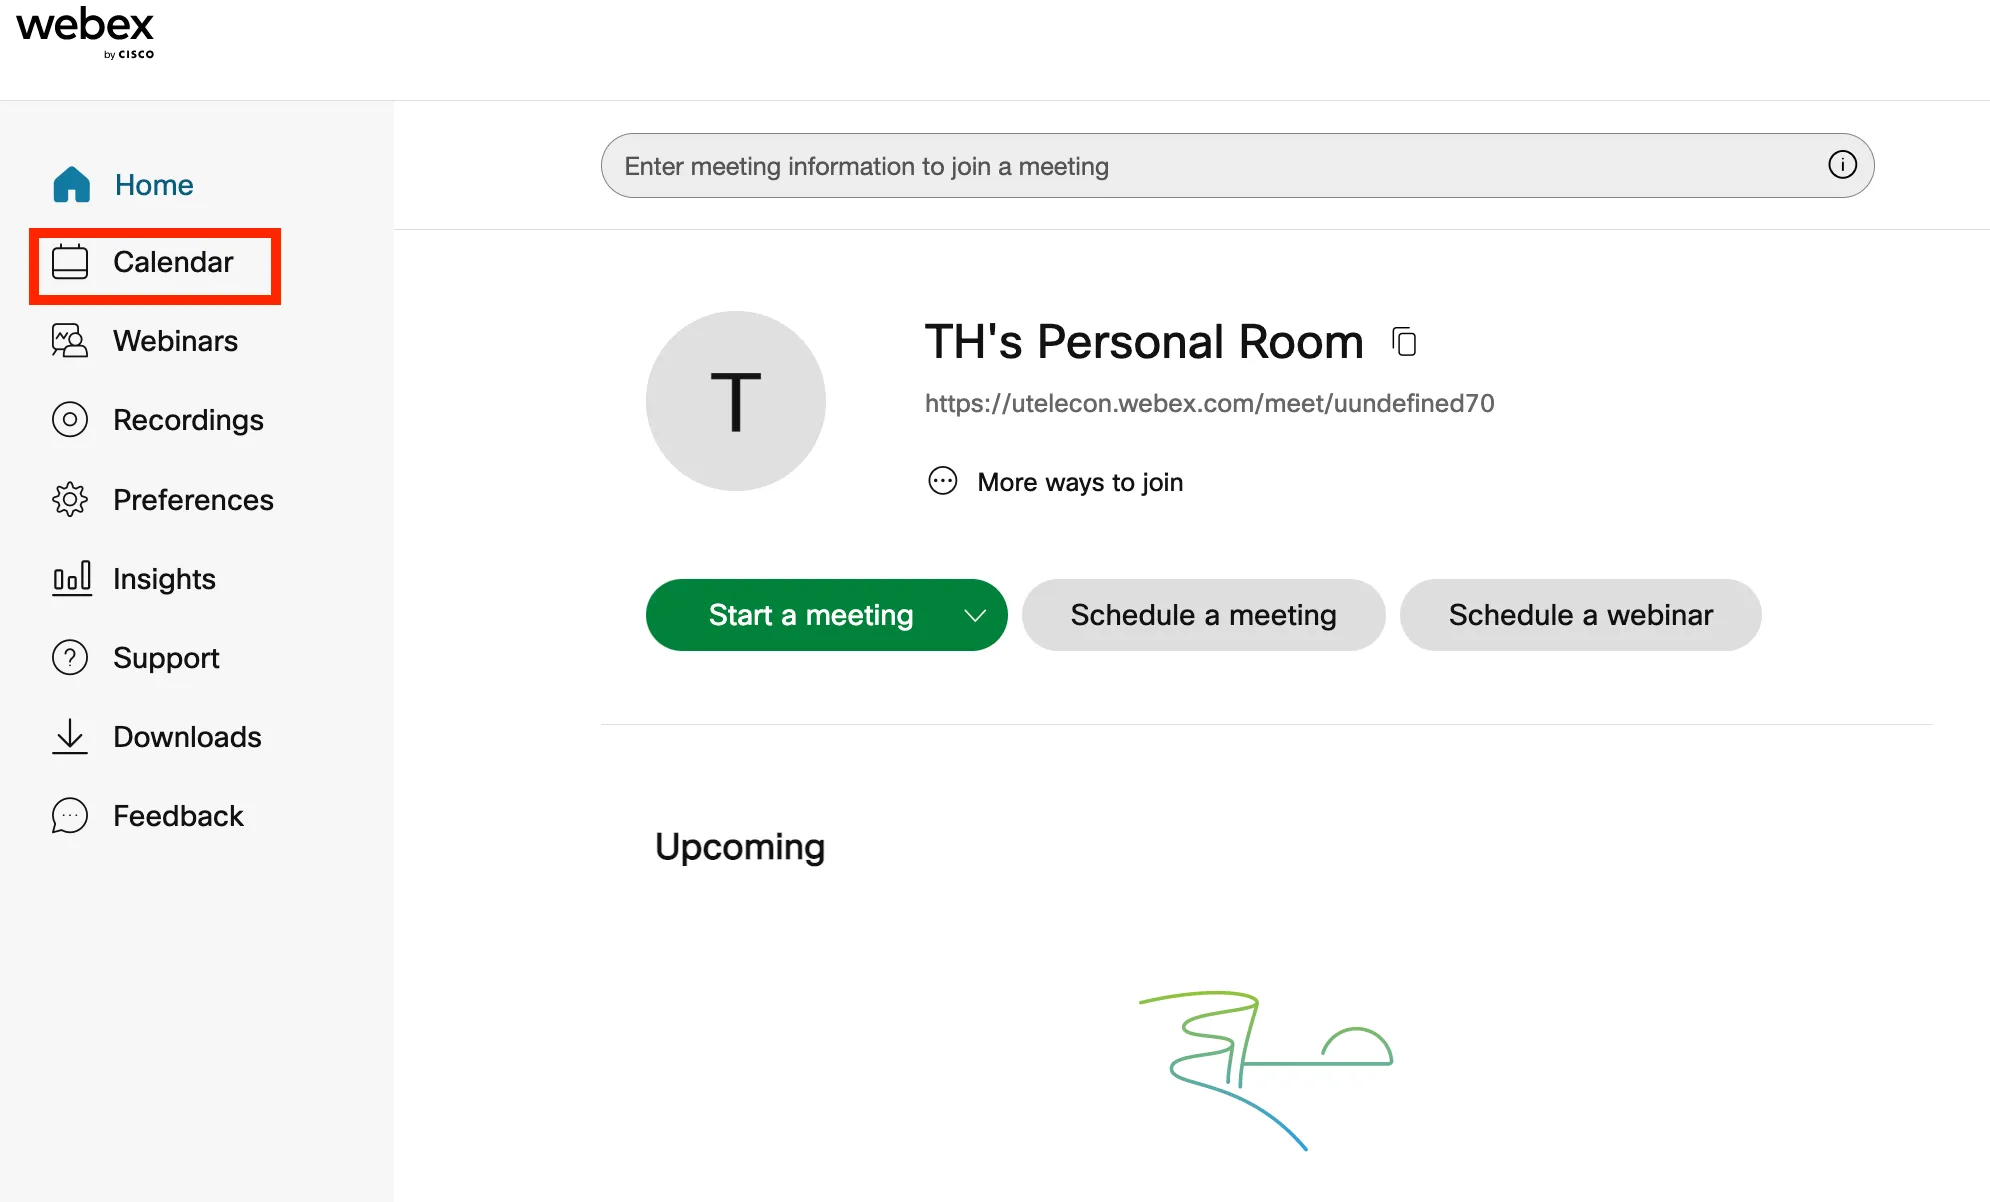
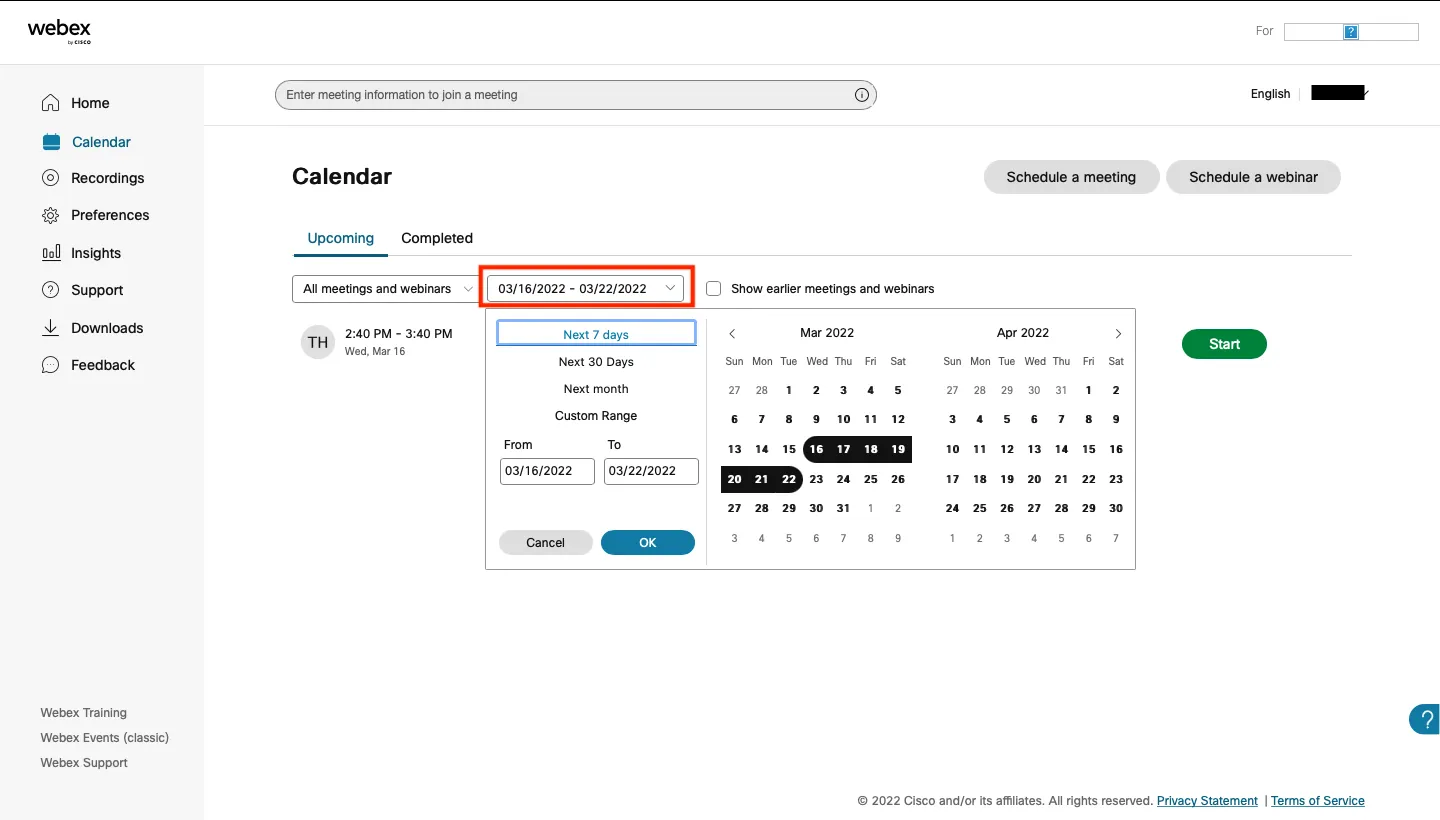
- On the home page, you can view any meetings and webinars scheduled within the next seven days. If you want to select a meeting scheduled at a later date, click the “Calendar” button on the left-hand side of the home page and search for the desired date.
Return to the How to Use Webex Page